Camping with solar does not need to be heavy or expensive. For a typical weekend with 2–4 people you can cover night lighting and device charging with a compact kit that fits in a backpack or the trunk of a car. This article explains realistic nightly energy needs, low-cost panel + battery combos (weight and pack size included), placement and wiring tips to avoid shade losses, waterproofing and quick-connect ideas, and a short emergency-reuse checklist. This article helps you quickly plan and choose the right solar setup.
What are realistic nightly energy needs for 2–4 people?
Start by estimating the small loads most people actually use at camp: phone charging, a couple of LED lanterns, and an occasional radio or USB appliance.
Example baseline (typical, conservative numbers):
Phones: assume 12 Wh per full phone charge. For four phones: 12 Wh × 4 = 48 Wh. Allow 20% charging and conversion loss: 48 Wh × 1.20 = ~58 Wh.
LED lanterns: two small LED lanterns at 3 W each, used for 6 hours: 3 W × 6 h × 2 = 36 Wh.
Small radio/comms / USB fan: 5 W used 4 hours: 5 W × 4 h = 20 Wh.
Add those up for a base nightly use: 58 Wh + 36 Wh + 20 Wh = ~114 Wh.
Add a safety reserve of 30% for cloudy evenings, extra phone top-ups, or small additional loads: 114 Wh × 1.30 = ~148 Wh. Round up to ~150 Wh to be safe.
What that means in battery terms: assume available usable battery capacity is about 85% (battery and controller losses). Battery energy needed = 150 Wh ÷ 0.85 ≈ ~175 Wh usable stored energy.
Quick takeaway: for basic night lighting and device charging for 2–4 people plan for roughly 150–200 Wh per night. This is a small requirement — smaller than many people expect — and it allows you to choose lightweight panels and a compact power station rather than a heavy deep-cycle battery.
What are the minimum panel + battery combos (weight & pack size)?
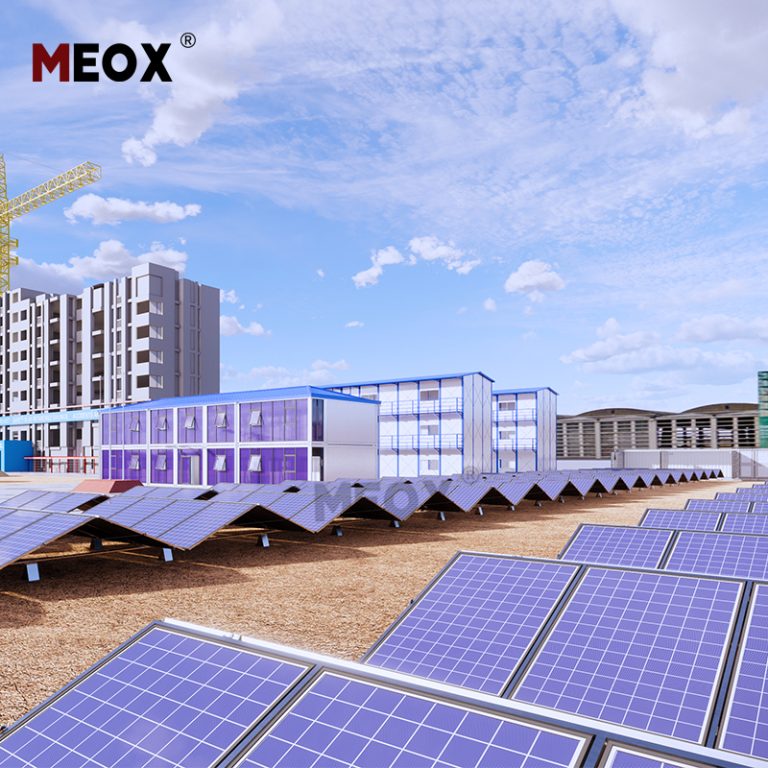
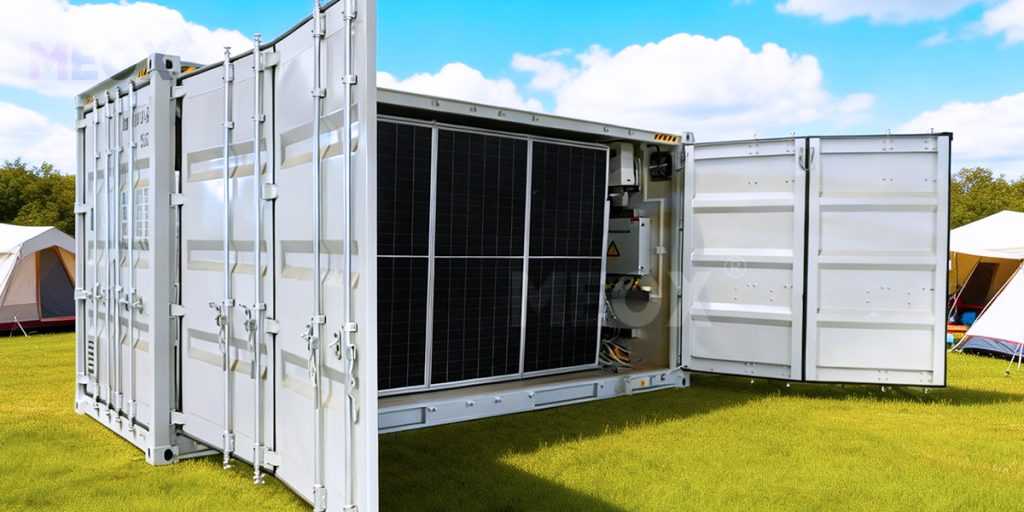
For solar power for camping, especially for group or semi-organised camps, the most practical solution is not loose panels and batteries, but a compact solar container with integrated PV, battery, and power management.
Below are three lightweight-to-medium solar container configurations designed for camping use, covering the same ~150–200 Wh nightly demand per small group, while remaining easy to transport and deploy.
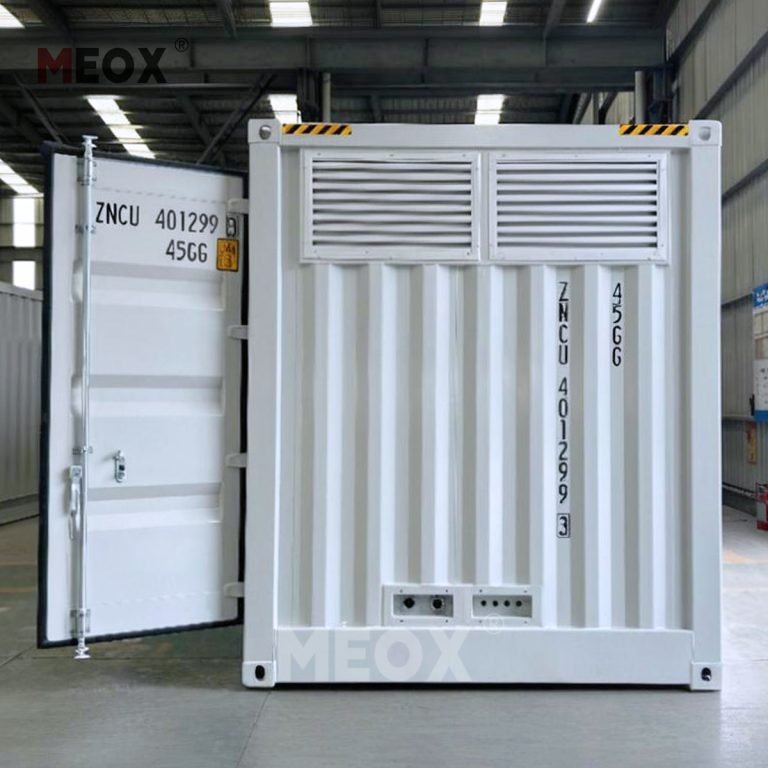
1) Compact solar container — for minimalist weekend camps
Configuration: integrated solar panels (roof-mounted or foldable) + ~0.2 kWh battery storage inside the container.
Output: USB and 12 V DC ports for phones and LED lanterns.
Why it works: With several hours of sunlight, this small solar container can generate and store enough energy for night lighting and device charging for 2–4 people.
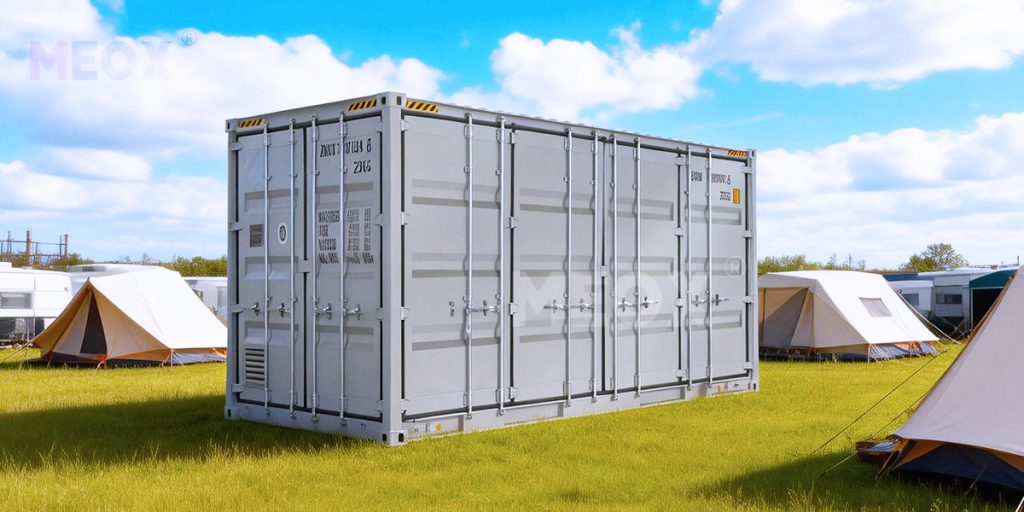
Footprint & transport: compact container size, forklift- and truck-friendly, no loose components to pack.
Use case: short weekend camps, mobile base camps, or rental camping setups that need fast, reliable power with minimal setup.
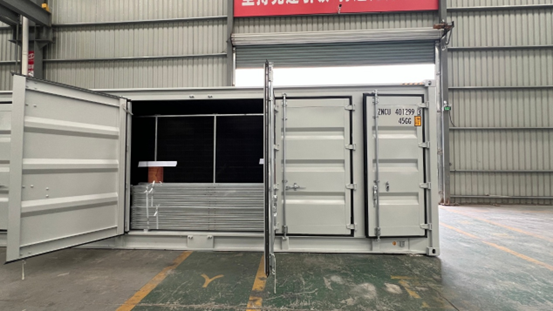
2) Balanced solar container — for family camps or longer evenings
Configuration: higher PV capacity and ~0.3–0.4 kWh integrated battery system.
Output: USB, 12 V DC, and optional AC for small appliances.
Why it works: More charging margin for cloudy days, longer lighting hours, or additional devices such as fans or small speakers.
Footprint & transport: still compact, delivered as a single unit; setup is essentially “park, unfold panels if needed, and plug in.”
Use case: family camping, car-accessible campsites, or multi-day weekend trips.
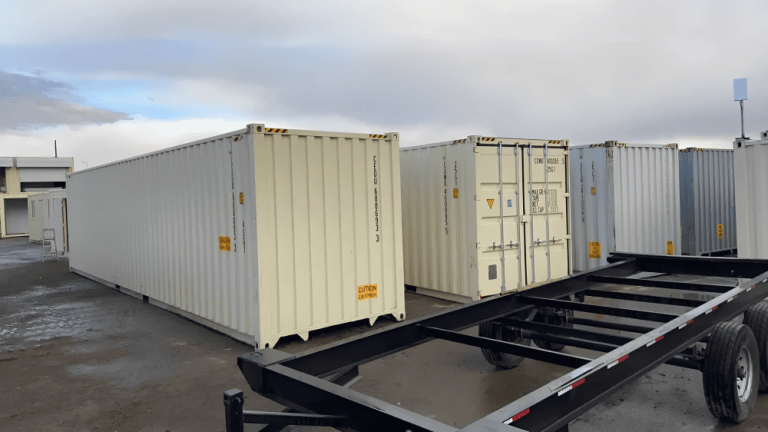
3) Extended camping solar container — when refrigeration or multi-day autonomy is needed
Configuration: larger PV array with ~0.5–0.6 kWh (or more) battery storage integrated into the container.
Output: stable 12 V and AC power suitable for a small portable fridge, lighting, and device charging.
Why it works: This level of solar container supports continuous camping use without daily energy anxiety and reduces reliance on fuel generators.
Footprint & transport: larger and heavier than weekend kits, best suited to vehicle-supported or semi-permanent camps.
Use case: group camps, extended stays, event camping, or eco-tourism sites.
Notes on positioning: instead of listing retail prices, focus on capacity, autonomy, and deployment speed. For customers searching solar power for camping, these solar container setups clearly show how power scales from simple weekend needs to multi-day off-grid camping — all within a single, integrated container solution.
How should I place solar container to avoid shade losses?
Solar output falls steeply with even small amounts of shade — with a solar container the placement decisions are different from loose panels. Use these practical, product-focused tips so your container reliably delivers solar power for camping.
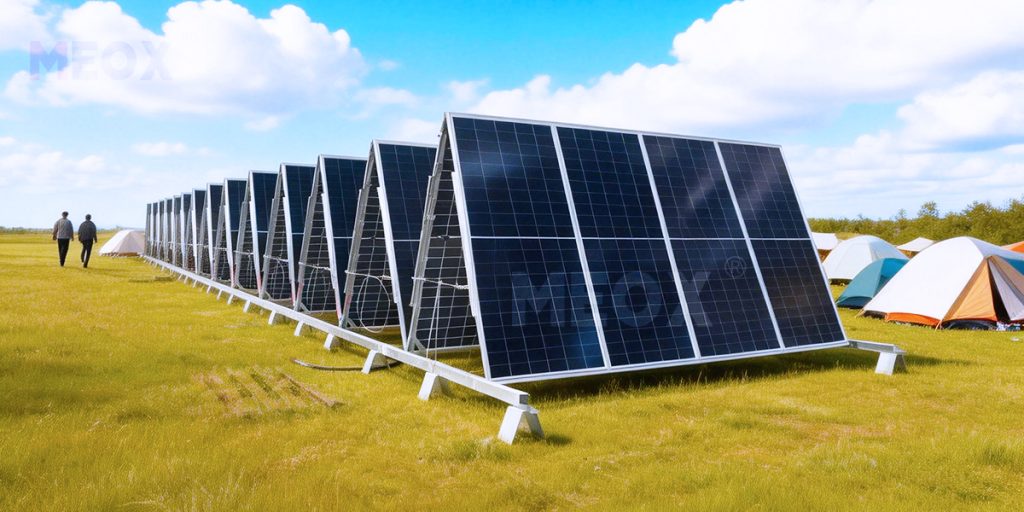
Face the array toward the equator. Park or orient the container so its PV array faces the sun (northern hemisphere → face south; southern hemisphere → face north). If your container has fold-out or roof panels, unfold them and point the active face to the equator direction before locking the supports.
Give panels room from trees and structures. Trees, walls, or parked vehicles produce long, moving shadows at dawn and dusk. Place the container several metres away from trunks, fences, or tall vehicles (5–10 m when practical). If site space is tight, move the array (many containers have fold-out arrays on booms) rather than leaving it shaded.
Use tilt where possible. Even a small tilt (10–20°) reduces soiling and improves midday output. If your container has adjustable mounts or fold-out panels with supports, set a low-angle tilt to capture peak sun and shed debris.
Avoid self-shading from the container itself. When panels are roof-mounted, ensure vents, awnings, or accessory racks don’t cast shade on the array. If your container includes deployable side panels, position them so one array doesn’t shade another.
Maximise airflow and cooling. Panels work better when they stay cool. Ensure there’s an air gap between roof panels and the container roof, or use ventilated mounting brackets on fold-outs. Don’t box the array in — allow crosswinds to flow under and around panels.
Keep the battery & control gear protected but ventilated. Place the battery and inverter inside the container where they’re sheltered from rain and direct sun, but provide passive ventilation or active cooling as recommended so heat doesn’t reduce battery performance.
Use extension cabling to optimize placement. Run PV cables (MC4/Anderson) up to the allowed distance so the container can stay near camp while panels sit in the best sun-exposed spot. Carry 5–10 m of rated PV cable so you can locate the array away from tents and shade without moving the whole unit.
Deploy monitoring and do an early test. After parking and unfolding, check real-time power and current on the container’s monitoring panel or MPPT readout. If output dips when the sun angle changes, re-position the container or the fold-outs before evening.
Plan for variable sites. For windy or uneven terrain, use stabilising jacks or wheel chocks so the container and its panels remain steady and at the intended tilt. On soft ground avoid sinking that creates tilt/angle changes and possible shading.
Quick placement checklist
- Face array to equator and unfold panels early.
- Keep 5–10 m clearance from trees/structures.
- Add slight tilt and allow airflow under panels.
- Protect batteries inside the container, but ventilate.
- Carry 5–10 m PV extension cables and proper connectors.
- Test power output on-site and reposition if you see quick drops.
These placement habits help your solar container deliver consistent solar power for camping, reduce daily setup fiddling, and keep campers powered through the night.
What quick-connect and waterproofing practices should I use?
A compact, safe electrical setup is the difference between a happy weekend and a ruined device.
Use proper connectors: choose MC4 or Anderson connectors for solar-to-controller runs. They’re weatherproof and commonly used. For short runs to a portable power station use the manufacturer’s recommended cables.
MPPT charge controller: for panel + battery setups that use separate components, use an MPPT controller to get better charging from lower-voltage folding panels. Many portable power stations include built-in MPPT.
Inline fuse and simple switch: place a fuse between panel/controller and battery sized for expected panel current. Add a simple waterproof switch to isolate the battery.
Waterproofing: keep the battery/power station under a shelter or inside the car at night. Use a small waterproof case (IP65 or better) for bare controllers and junctions. Seal cable entries with simple cable glands.
Cable management: coil and bag unused cable; exposed cables across a path are trip hazards and can pull connectors loose.
Checklist for packing and emergency reuse
Pack a compact kit built around your solar container so the portable unit is ready for camping and emergencies. Inside the kit: integrated fold-out array and roof panels, an onboard 200–500 Wh power station with USB, 12 V DC, and AC outputs, 3–5 m extension cable and Y-adapter, MPPT controller, inline fuse and waterproof junction box, spare connectors and adapters, LED lanterns, spare USB cables and a multi-port hub, plus a toolkit and a packing card with setup steps and safety notes.
Why this helps: centering your gear on a solar container gives reliable solar power for camping and removes repeated setup work. Use the container as a weekend solar kit for quick trips or to power camping night lighting. For groups and longer stays container scales to deliver more kWh, showing why solar power for camping is practical beyond one night. Treat it as a lightweight camping option that beats small-kit packing and qualifies as a weekend solar kit for car campers. Keep the container charged and test it regularly so it reliably provides solar power for camping when you need it most. In emergencies the same container supplies phone charging, radio power, and medical device support—another reason to choose a container-first solar power for camping approach.
Final practical tips
Start small. A 50 W panel + 200 Wh station covers most night-lighting needs for a small group and is light enough to carry.
Watch energy use. Encourage everyone to charge partially during the day and reduce screen brightness at night. Charging phones from 20% to 80% keeps cycles light and saves energy.
Label gear. Mark cables and connectors so anyone in the group can plug things safely.
Consider MEOX solar containers for bigger needs. If you plan to power larger off-grid camps, remote work sites, or events, modular solar containers offer a scalable, rugged option — but for weekend camping the lightweight combos above are the most practical.